Summer is birthday season in our house. All of our babies were born in June, July, and August, so we are literally eating cake every month of the summer. It almost feels like by the time we finish the leftover cake from the previous party, we’ve got a brand new one to work on!
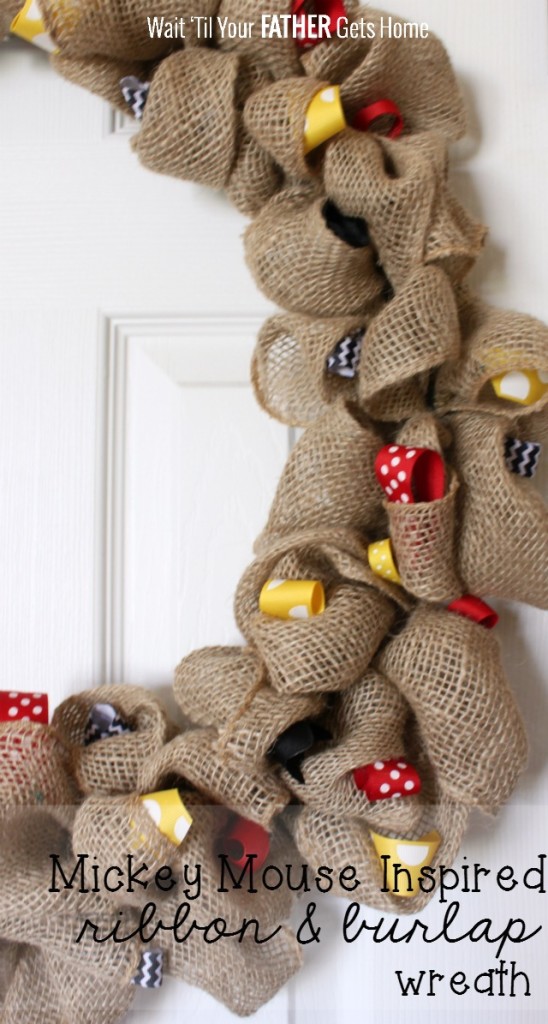
I didn’t go too crazy with decorations and party guests and even parties this year as I have in year’s past. Pretty much each party was family that lives close by and a friend or two. For my middle guy’s big day, I went with simple Mickey Mouse decor because this has definitely been the year of Mickey for him. For an easy spin on a classic burlap wreath, I made this sweet Mickey Mouse inspired ribbon version.
Materials needed:
wire wreath form 16″ or larger
three rolls of burlap garland
various red, white, yellow, and black ribbons
wooden number {appropriate for the age of your child}
red, black, and yellow acrylic paint
floral wire
hot glue gun/glue
scissors
To make the bubbled burlap wreath, I honestly looked up a few different YouTube videos. From watching them, I learned that you work from behind and start on the slot closest to the inside of the wreath for each row of bubbles. Basically you poke the ribbon through in the three slots {bubbling it out on the front as much or as little as you’d like}, and after the last row is bubbled and in place, you twist the garland on the backside of the wreath form before beginning the next row of bubbles.
Make sense, or completely confuse you?!
Here…I found the video that finally made it all crystal clear to me. Watch it now, then come back to see how mine turned out!
Okay, I hope the video helped explain the burlap bubbling process better than I did. Once you have your burlap wreath, you can really add any little objects to it you’d like…
floral stems
wooden letters or numbers
ornaments
ribbon
photographs
fabric
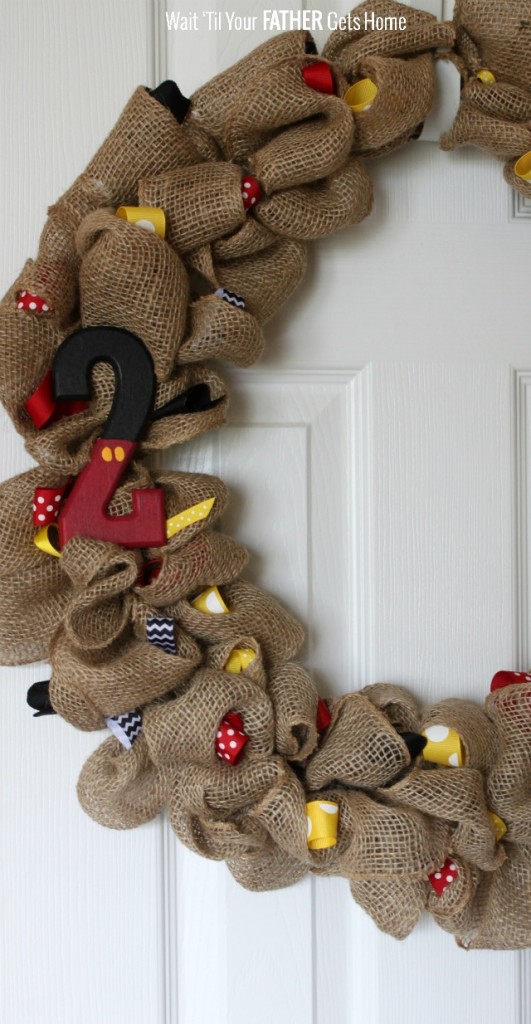
For my Mickey Mouse inspired wreath, I went with ribbon and a painted wooden number.
I attempted to make my number two look as much like Mickey as possible. I was happy with the outcome!!
While my number dried, I began adding small 4-5 inch pieces of ribbon to the bubbles of the wreath. I didn’t pin or glue them at all. I just curled the ribbon to fit inside of the bubbles sporadically around the wreath.
After I was happy with my ribbon curls, I attached the wooden number to the wreath by hot gluing a floral stem to the back of the number and twisting it around one side. It was super cute and fit my simplistic Mickey party perfectly!
The best part?! Nothing was permanently glued to the wreath, so I can change it up from party to party or season to season with any other decor that I’d like!


[…] 7. Burlap Mickey Mouse Wreath […]