In case you missed my post on Tatertots & Jello this month for my Stamped Easter Eggs, here it is again!
Spring fever is in the air, even if a lot of parts of the country are still getting random {or sometimes not so random} winter storms. We actually had a little snow last week in Georgia, to be immediately followed by a 70 degree weekend! Well, I’m ready for Spring, and that means so is my decor. I love to change little nooks in my house according to the season or holiday. It’s so nice to change things up a bit every now and then, don’t you think?
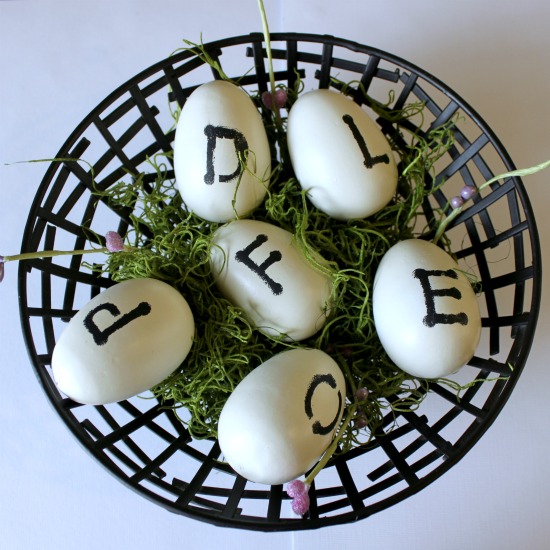
Since Easter falls earlier this year, I’ve been in Easter Egg mode lately. I wanted to try out some hand stamped eggs for a few spots in my house, and soon came up with these pretties…
To make your own
Stamped Eggs
you’ll need:
wooden eggs {found at Hobby Lobby}
spray paint {mine is Krylon Satin finish in Ivory}
cute stencils
black acrylic paint
foam brush
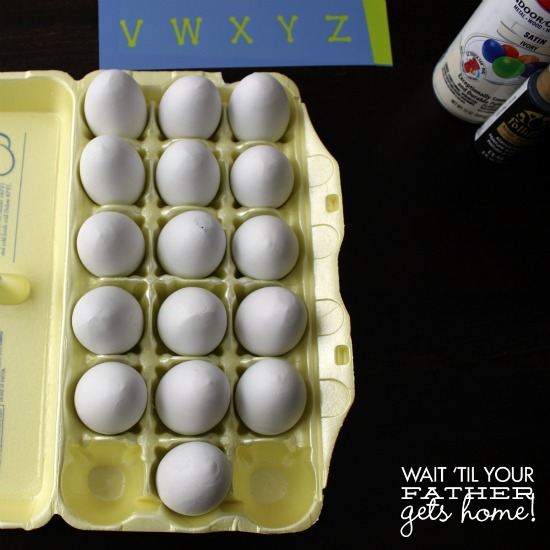
I had an extra large egg crate in my fridge with only a few lonely eggs left, so I emptied it out and used it to set the wooden eggs inside, to create an easy surface to spray paint.
Of course, once the tops of the eggs had a few thin coats, I had to flip the eggs over to cover the surface of the bottom half of each egg. It really didn’t take too long, as I chose a nice sunny day to do my spray painting.
*Remember, when spray painting, thin coats are best!
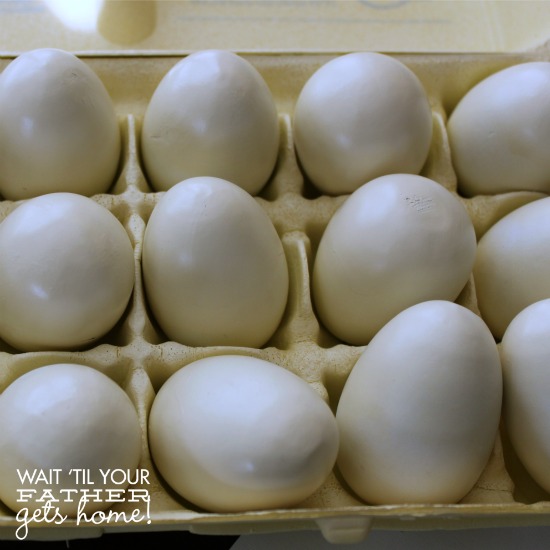
The ivory spray paint gave the eggs a slight sheen and dulled them up a bit from the bright white that they once were. If you’d prefer bright white eggs, you could skip the spray painting part.
Once the eggs were dry, I got to the fun part, choosing random numbers and letters to stamp onto each egg.
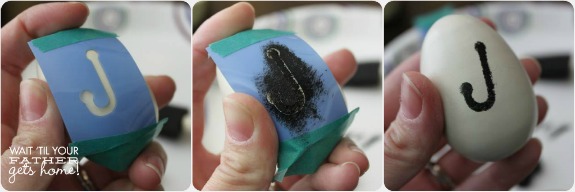
I used a couple small pieces of washi tape {since it’s so easy to remove and reapply}, put a small amount of black acrylic paint on my foam brush, and dabbed the paint onto the stencil. Definitely do not use a large amount of paint as you want it to look like it was lightly sponged on. Remove the stencil immediately and admire your handy work!
As I finished, I carefully put them back into the egg carton to dry.
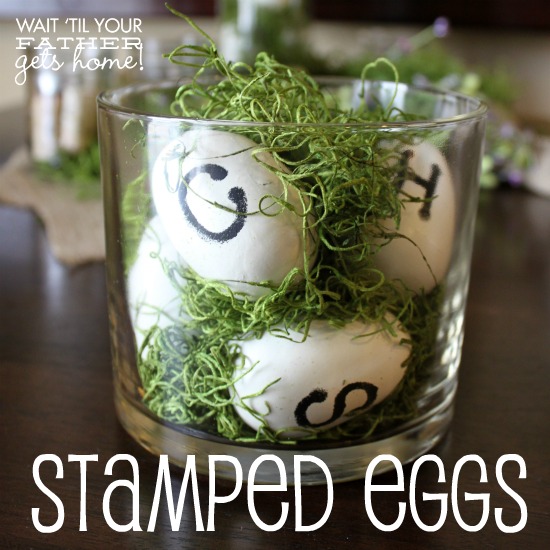
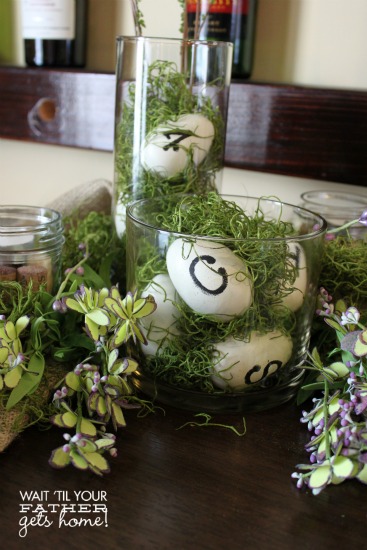
I used these stamped eggs in a few spots around me house. I’ve had a bit of an obsession with Spanish moss this month, and added a handful of my newly stamped eggs to a vase filled with moss.
I also added a couple eggs to a taller, skinnier vase in the same vignette…
We’ve got a tall, square table in our kitchen that sometimes my husband I like to sit at when our little guy is sleeping. Lately, I’ve been dressing up the tabletop, so we’ve got a little decor to brighten the dark brown table. And, luckily, my son can’t reach up to this table and mess up the tablescape {yet!}.
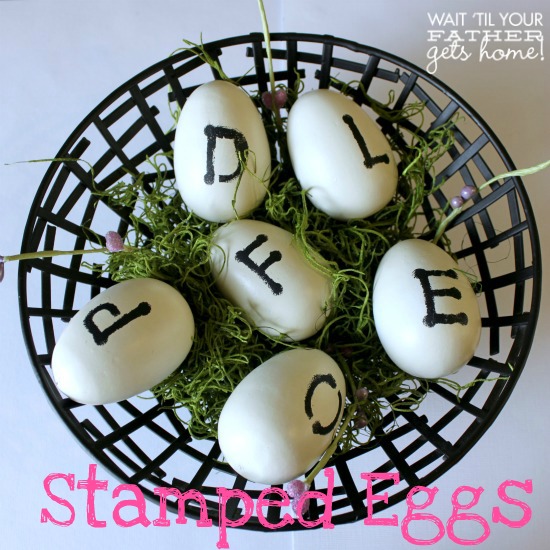
I also added some stamped eggs to a pretty candy dish that used to be my aunt’s with some more Spanish moss.
I’m loving the simplicity of the eggs with the brightness of the moss.
What about you?! Have you created any egg inspired crafts or decor yet this month? I’d LOVE to see what you’ve come up with!
Linkin’ up at these parties!





These are SUPER cute! 🙂
What a simple yet lovely idea!
It always amazes me how something so simple can look so beautiful! Thanks so much for sharing.
I’d be thrilled if you’d link up at this week’s Off the Hook!
You know I love this one – so pretty!
I really LOVE the look of these eggs!! You did a great job. Thanks for sharing. I wanted to personally invite you to our weekly Link Up Party on Thursdays that just opened!! I’m sure our readers would love to see this post. Hope to see you there at allthingswithpurpose.com. P.S. We are also your newest FB like!!
Just gave this a shout out!
http://4you-withlove.blogspot.com/2013/03/easter-inspiration.html
Have a great day!
Marilyn
These are so cute!! And it makes a great learning activity for toddlers… I think I may have to give this a try.
Thanks so much for stopping by!! They would be fun with toddlers, why didn’t I think of that?!
Those turned out really cute!
Thank you so much!!
Those are just too cute!
I visiting from Friday’s Linky. I hope you can stop by my blog and leave a comment and Link Up, too!
~ Megin of VMG206
http://www.vmg206.blogspot.com
These are so cute, you could even use them for place card holders! BTW I understand the obsession thing, mine has been sandwiches this month!
Featuring you today over on my blog. 🙂
Thank you so much for linking up to {wow me} wednesday.
Have a happy Easter.
Ginger @ gingersnapcrafts.com
http://www.gingersnapcrafts.com/2013/03/25-easter-ideas-recipes-decor-more-link.html
Seriously in love with these, Mer! So cute and easy too!
So adorable! What a smart idea!
Would love for you to link this to Friday Favorites at http://imnotatrophywife.com
Great tutorial! laura