Many of you may have literally just gotten out of school this past week. I know however that quite a few have been out since before Memorial Day, and I’m guessing the “summer boredom” that somehow manages to sneak its way into little minds is starting to settle in on some days. Especially on those rainy or cloudy days that you can’t get to the pool or the splash pad, or on those WAY TOO HOT days that even the pool doesn’t help beat the heat. For those times, you need something fun to occupy little hands and minds {at least for a tiny portion of the day} in between YouTube Kids and Netflix watching. I’ve got the perfect and truly easiest activity to do with your kiddos this summer. Grab all those broken and paper-peeled crayons {you know they’ve got all those supplies they just brought home from school in their backpacks}, and make some brand new crayons with just a few inexpensive materials.
I’m a sucker for crayons. They are by far my favorite medium to use for coloring. So, I tend to break out a new box perhaps a little sooner than I should, because being a lover of crayons also means I’m a lover of sharp crayons. Luckily I’ve saved all the old ones for a project just like this one.
To make your own LEGO crayons, you’ll need:
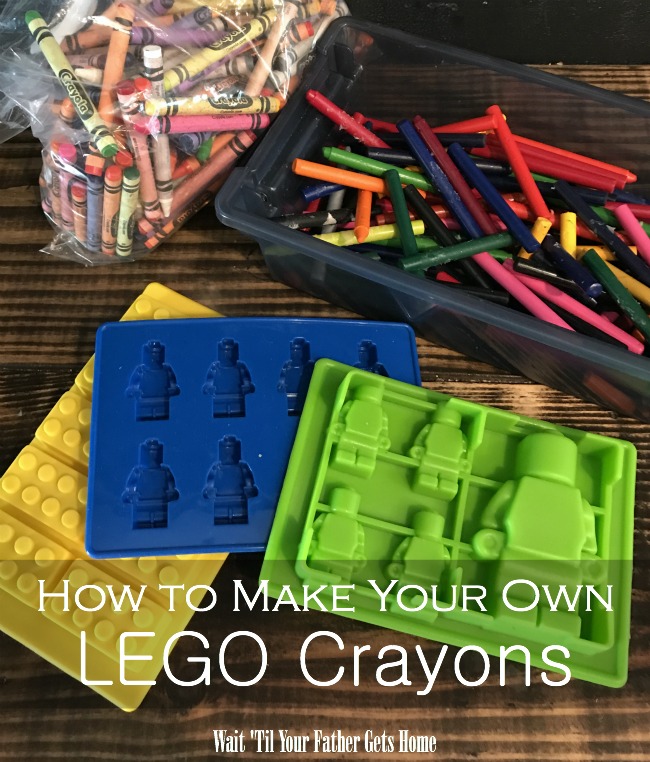
silicon baking molds | old, well-loved crayons | cookie sheet lined with foil | oven at 250 degrees
I found our baking molds on Amazon, and there are tons of different shapes if LEGO isn’t your thing. Most of our crayons still had paper attached to them, so before we could break them into pieces and fill our molds, we had a crayon peeling party. We just sat around the kitchen island, talked, and peeled. It was actually fun, and I think the kids liked being a part of it.
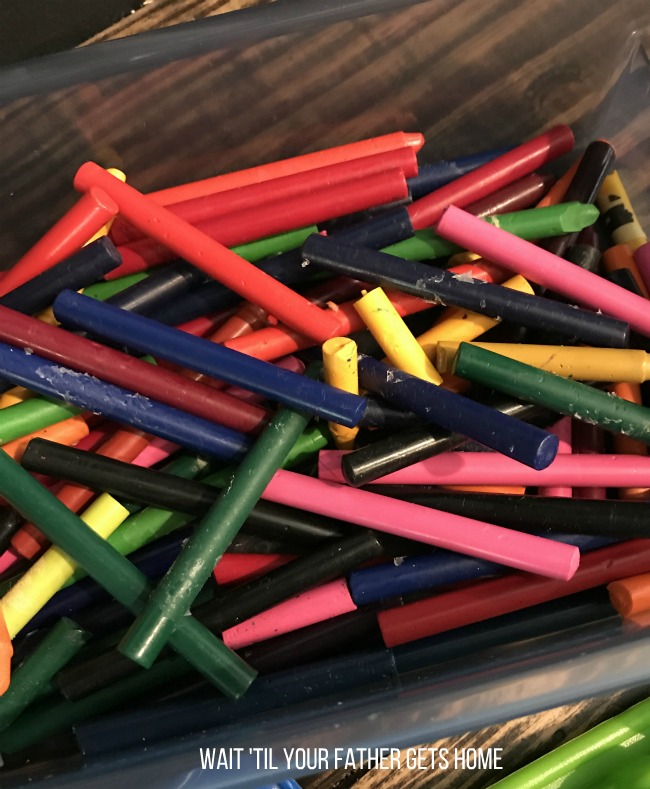
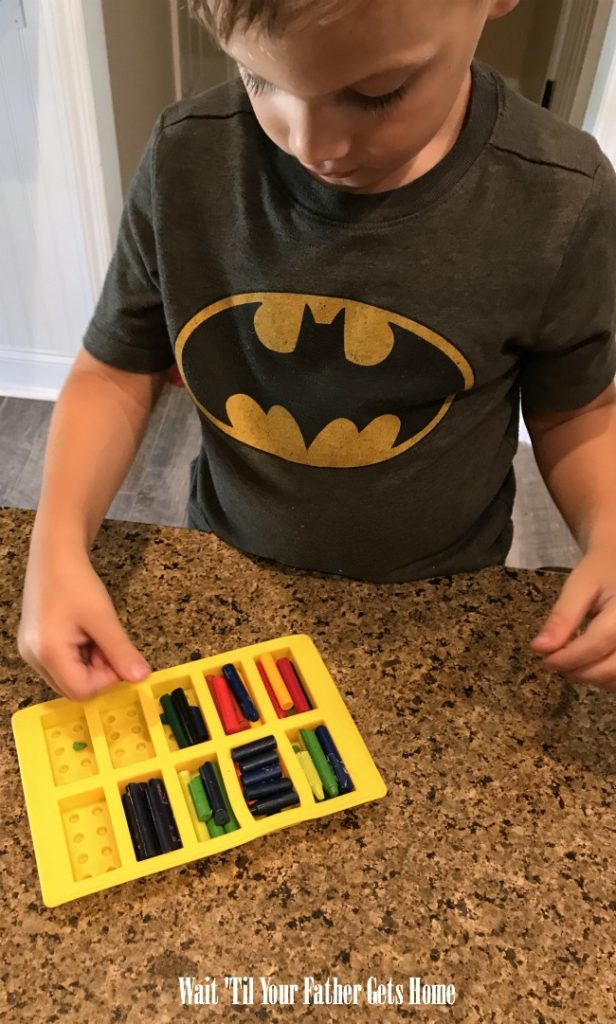
Once we had a bunch peeled, we worked together to break and fit colors into each mold. For some we stuck to one, solid color. For others we chose 2-3 colors that we thought would go well together to make a mixed up crayon. I recommend over-filling the molds slightly as they will “melt down” a bit.
The smaller you break up the pieces, the easier and quicker they will melt while in the oven.
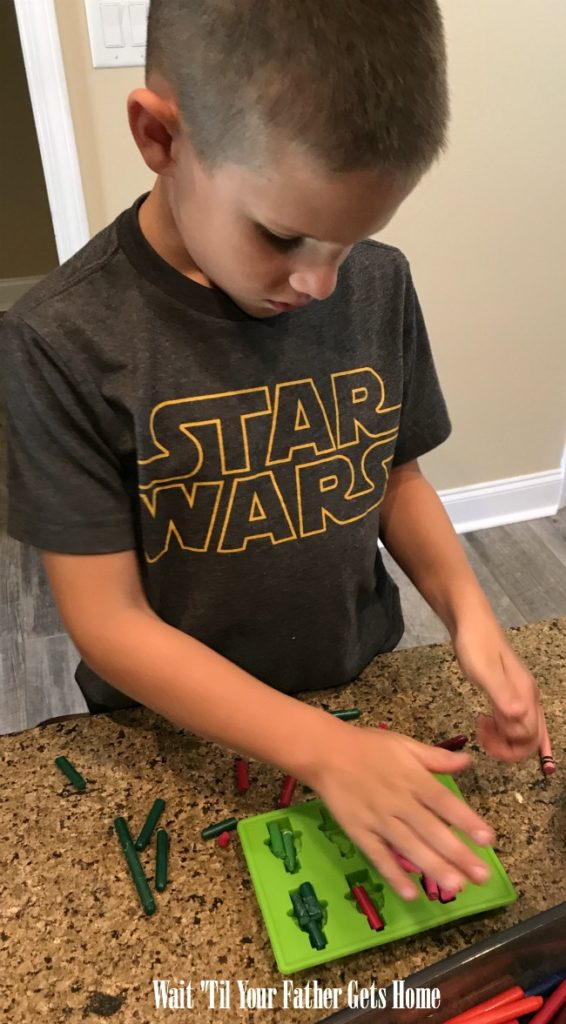
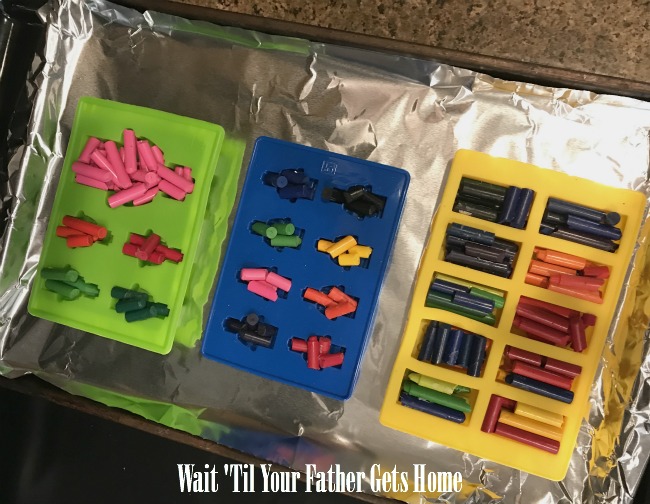
Here are all of our molds the first time around, prepped and ready to go into the oven. My kids were all excited about the giant Lego figure, so it turned into making three batches of crayons. I decided putting them on a foil lined cookie sheet was the safest way to get them in and out of the oven and to avoid spills.
I set my oven to 250 degrees and my timer for 15 minutes. After 15 minutes, I decided it needed just a tad longer, and ultimately each batch was in the oven for about 20 minutes total. Each shape had completely melted down to liquid. Once removing it from the oven, I carefully placed each baking mold into the freezer to cool and harden for about 10 minutes.
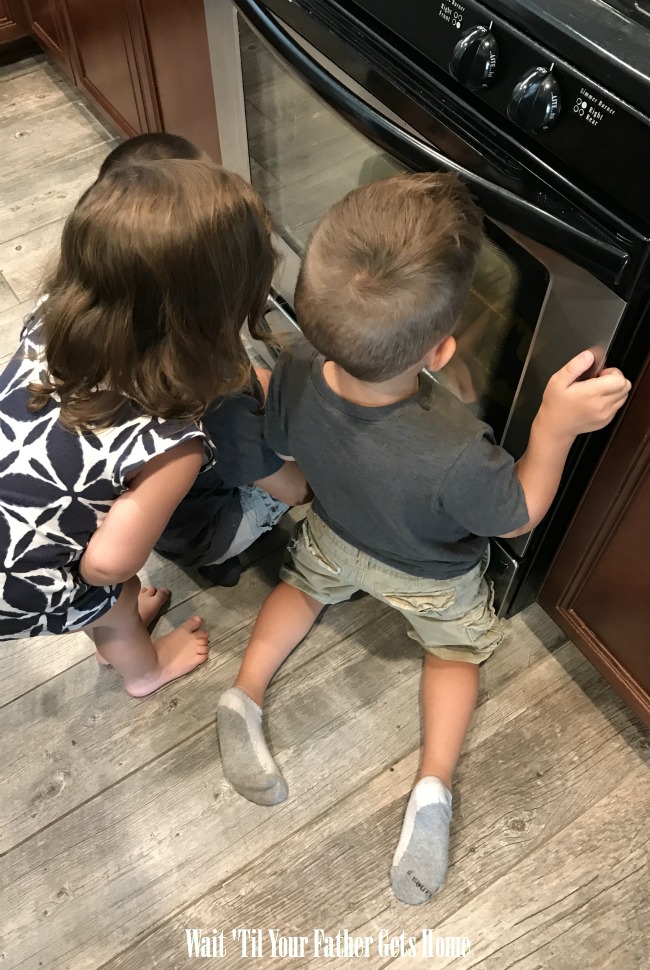
It was fun to watch the crayons melt down and our new crayons start to form. In between batches, we had snacks, we played games, we peeled more paper off of crayons. One thing we didn’t do was complain or argue or whine {and it was glorious}.
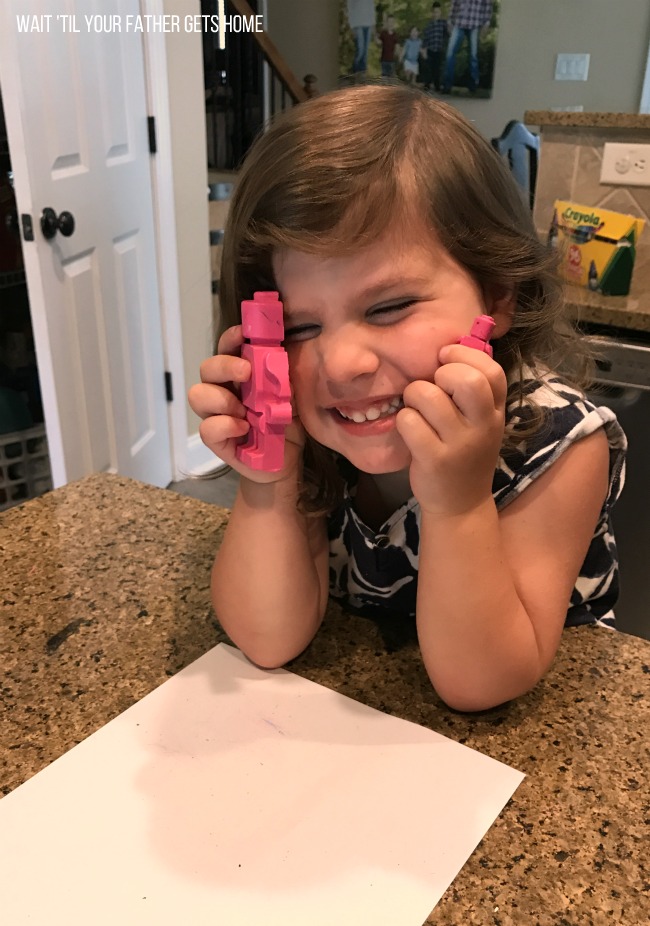
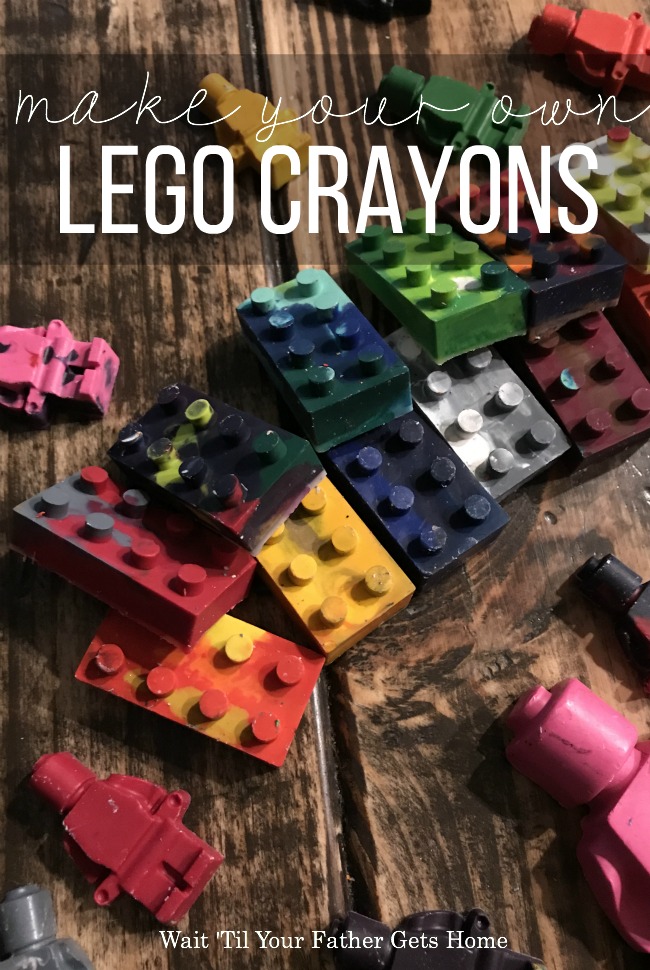
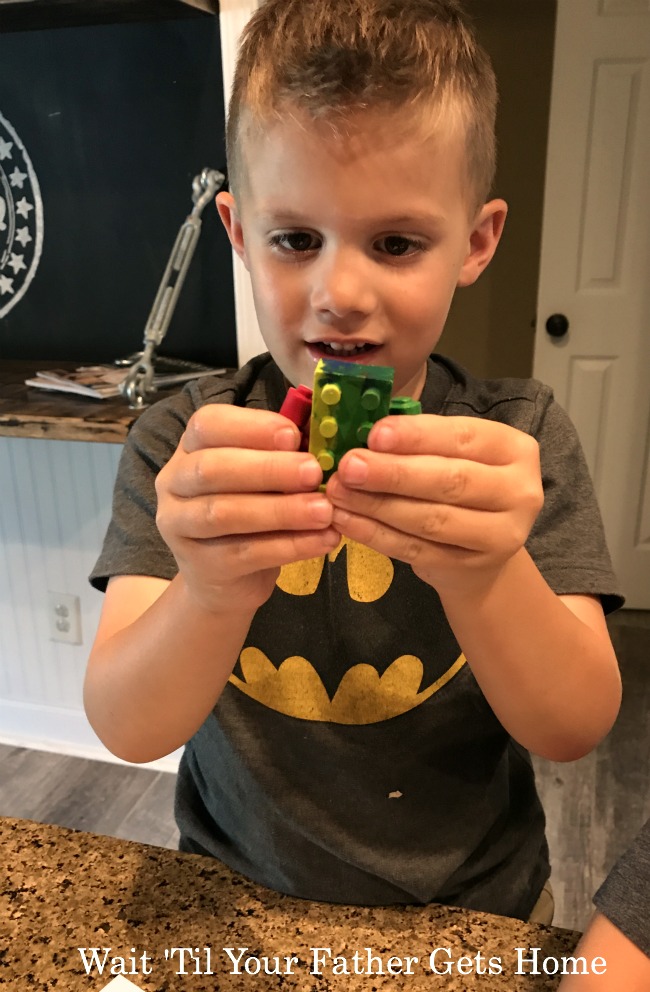
Since these were shaped like LEGO bricks and mini-figures, our crayons also got played with quite a bit. The kids would stack them as if building houses or walls for the mini-figures to battle. They also {of course} liked to use them to color. It was especially fun to see what colors would pop out of different ends of each shape on the ones that we added more than one crayon color to before melting.
What shapes do you think your kids would enjoy making?!


My kids just saw this and demanded lol that we make this.
Too funny! Hope they enjoy making some 🙂