My friends at The Ribbon Retreat provided the gorgeous ribbons used for this project. As always, all opinions are 100% my own.
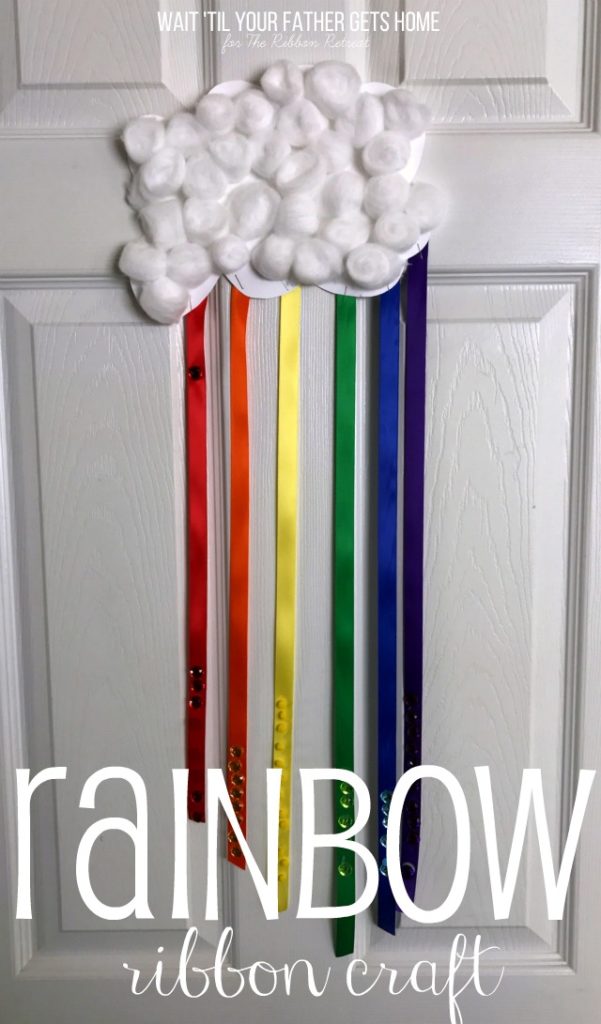
It’s SPRING! And {MOST} of the time, the weather around here has been gorgeous. Hoping that it’s the same in your neck of the woods, and if it does rain, hopefully you get some big, bright rainbows afterwards. To celebrate spring and make use of these stunning rainbow colored ribbons, I set up a simple rainbow craft for my littles the other day that they just LOVED.
To make your own Rainbow Ribbon Craft, you’ll need just a few supplies, some you may even already have at home…
white cardstock | stapler | white school glue | large cotton balls |
Satin-Double Faced-Offray ribbon from TRR | Rhinestones 12 mm from TRR
{ribbon colors used include red, torrid orange, lemon, emerald, royal, and regal purple in 5/8″}
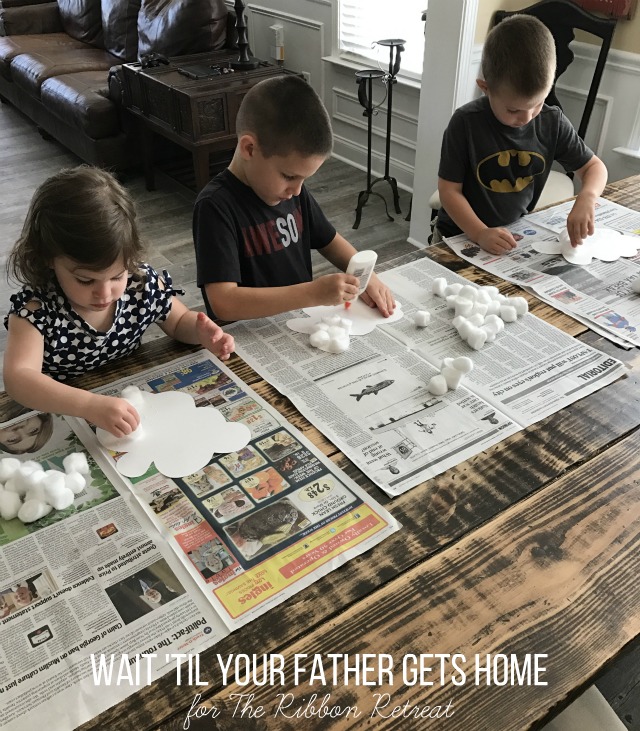
To get started, use an entire 8×11 piece of cardstock to cut a cloud shape for your little ones. Cut a 12 inch or so section of each color of ribbon to arrange on your cloud in ROY G. BIV, rainbow order! While you’re cutting the ribbon and preparing the rhinestones to glue on, have your little ones attach some cotton balls to their clouds.
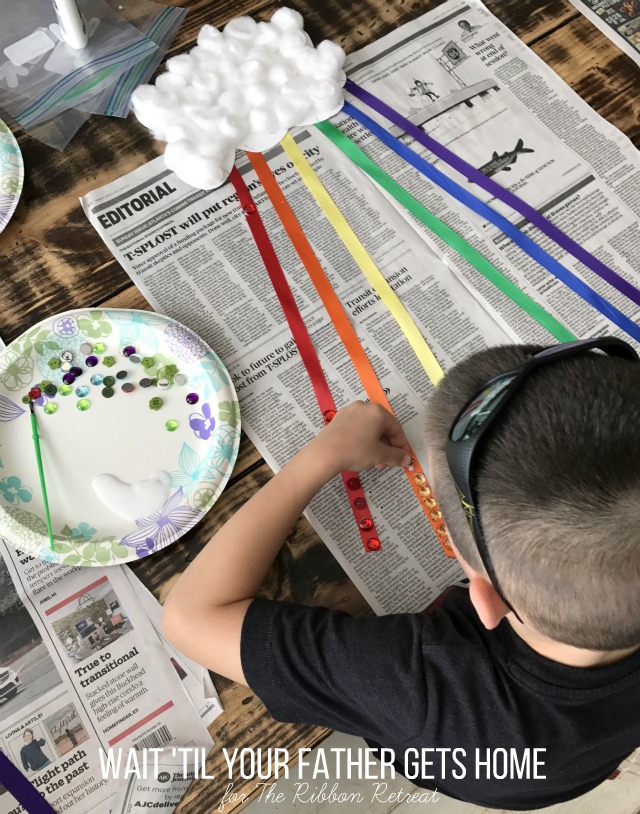
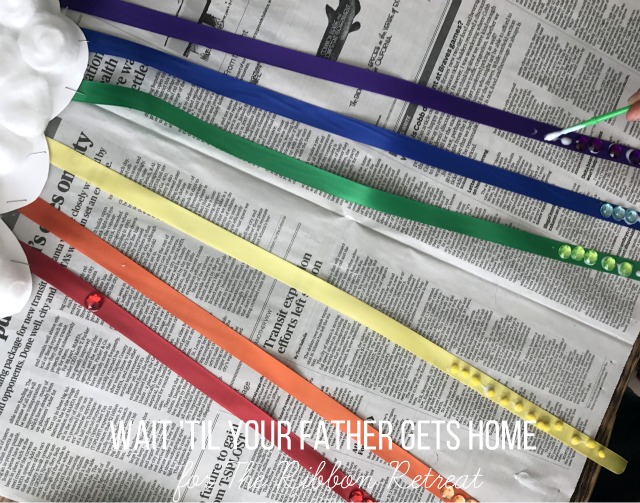
Once those are dry, use a stapler to attach the ribbons to the back side of the cloud. You may need to cover the staples with a cotton ball or two, but if you used them all, no big deal! Then comes some more fun for your littles. They get to match the rhinestone colors to the correct ribbon color. You could also use other small items such as buttons or pom poms as well.
To make this part as mess {and argument} free as possible, I gave each child a small paintbrush, a dab of white school glue on a paper plate, and all of their allotted rhinestones, pom poms, and buttons. The kids enjoyed using the paintbrushes to get just the right amount of glue on each ribbon.
Afterwards we hung them on our back window to enjoy both indoors and when we’re playing outside!


The kids made it so beautifully. It’s looking so cool and decorative.