I was sent some gorgeous ribbons from my friends at The Ribbon Retreat for the purposes of this blog post. All opinions, as always, are 100% my own.
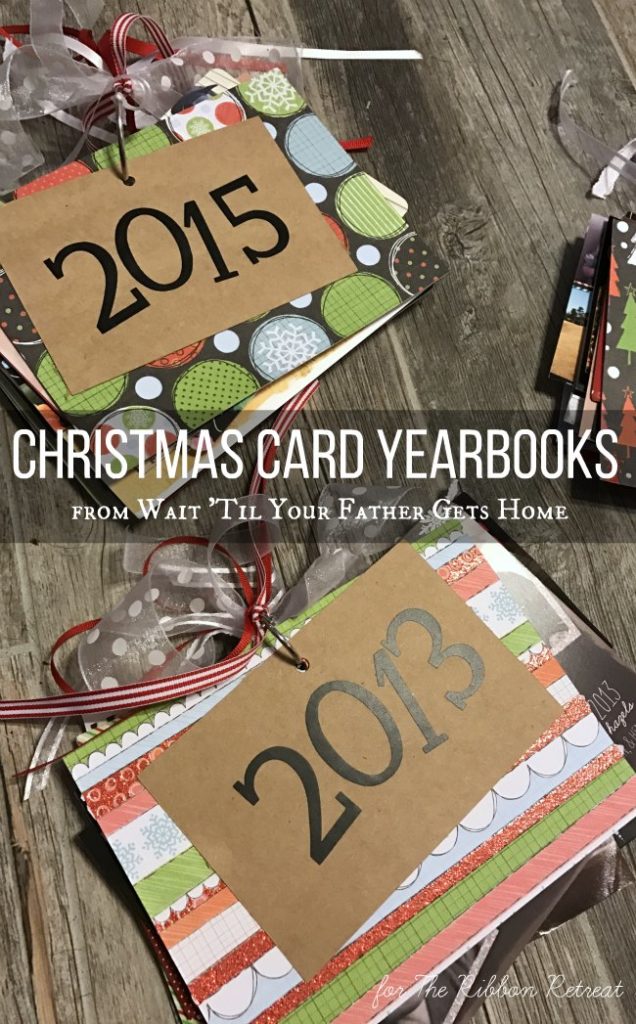
It’s finally the Christmas season! I just adore this time of year. My home feels extra cozy, my kids are excited by every light and blow up we pass as we drive down the street, and the weather {at least in the South} is usually pretty good. As I unboxed and decorated my house for Christmas on Black Friday {instead of shopping, because who has time or energy to fight the crowds on that day?!???}, I stumbled across a project I had intended to keep up with since 2011, but had neglected. I’ve kept every Christmas card we’ve received since 2011, and decided to make Christmas Card Yearbooks with them for us to look back on each year. It’s so fun to see how families have changed over the years!
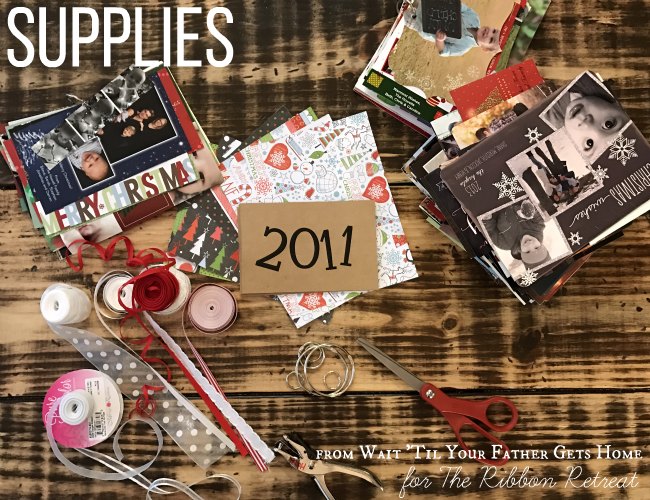
To make your own Christmas Card Yearbooks, you’ll need the following supplies:
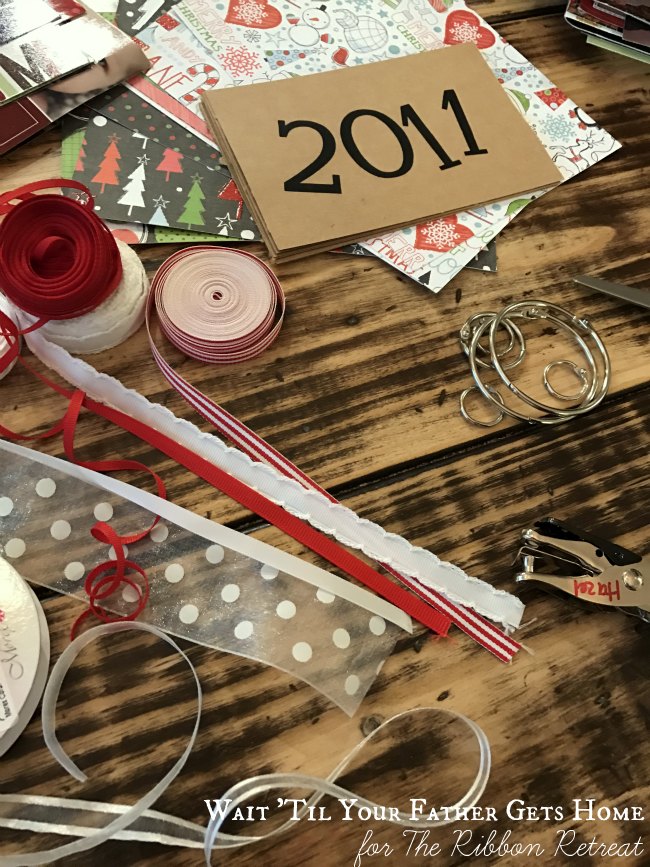
Christmas Cards | binder rings | hole punch | scissors | ribbon | Cricut | Christmas cardstock | kraft paper
The ribbons I used from The Ribbon Retreat were various textures and types in shades of white and true red. I used moon stitch grosgrain, satin double-faced offray, 3/8 in. seasonal mix, sugar sheer, sheer dots, solid grosgrain, and delight/sheer satin. Mostly I went with very slender ribbons as I knew I’d be tying them around the binder rings and didn’t want it to be too bulky. One of my sheer ribbons was pretty thick, but since it was sheer, it didn’t bunch up at all.
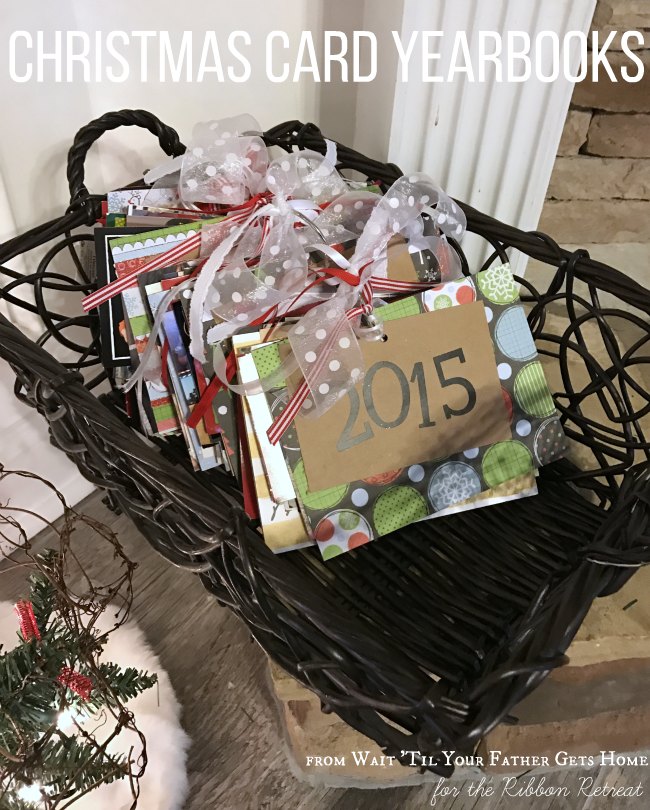
I’ve been saving our Christmas cards for quite some time now and realized that I needed a better {and cuter} system than just keeping them contained in a large zip top bag. So, using my Cricut Explore Air 2, I cut two different sizes of rectangles, a larger one with a cute Christmas cardstock and a smaller one with a kraft paper. I also used my Cricut to cut out the year on black vinyl to stick to the kraft paper. I then went to work hole punching each card and slipping it onto a binder ring. Once every card for that particular year was attached, I closed the ring, tied on various ribbons and placed it into a cute basket.
Now cards from the past five years are all available for my family to look through anytime. It’s so fun to look back and see how families have grown and changed over the years!
*Another tip! Use the photos on the Christmas cards in your phone book, that way when friends call or text, their picture will pop up!


That’s a great idea and adorable! I need to do that because I save all my Christmas cards too! Thanks for the idea!
Absolutely! So easy too! Use your Cricut 😉