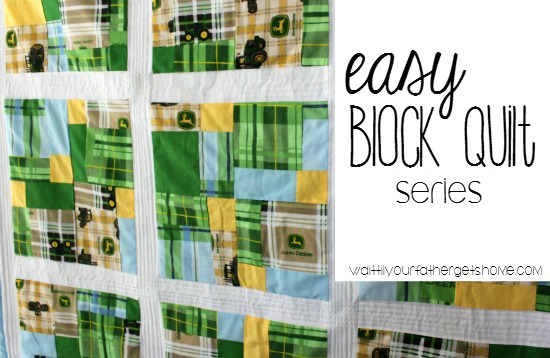
We’re in the home stretch of this quilt my friends! There are really only two more steps between you and a finished quilt. Now, those steps can be a bit time consuming, but stick with it! The results are beautiful, and you’ll feel super accomplished after completing this awesome quilt.
In case you’ve missed any of the previous posts, here they are:
 The Blocks | Sashing & Borders | Quilt Back
What do I need to begin quilting?
your “quilt sandwich”
sewing machine
patience
some good music or Netflix {it helps}
I’ll be the first to admit, I am not a “fancy” quilter. Maybe with some lessons or a really good YouTube channel, I could do something different, but for now I quilt in straight lines. To do that, I simply quilt straight stitches along all sashing {vertically and horizontally}, at least 5 rows in each sashing. I find it easier to start in the middle of the quilt and work my way out. Once all sashing is quilted, I quilt around the border, two or three times.
Binding
This is the best part I think. Why you ask? Well, I think it’s what makes the quilt finally look like a quilt. It’s how all of your hard work all comes together! First, you’ll need to cut 8 pieces of your binding fabric to be 2.5″ x 42″. You are going to sew all strips end to end to make one nice long strip. Press open the seams. Then you are going to iron the binding strip in half, lengthwise. Once ironed, roll it up so it’s more manageable.
Again, I was super awesome and forgot to photograph the binding process for this quilt. I’ll use some images from my first quilt to give you the general idea.
If you haven’t done so already, this is when you’ll want to make sure all layers of your quilt are perfectly squared up. Use your cutting mat and rotary cutter to ensure all sides are even. Flip your quilt over, so the front is facing the carpet. Start pinning the binding to the back of the quilt. The unfinished edge of the bias tape should be meeting up with the unfinished edge of the quilt back. When you get to a corner, pin the bias tape at a 45 degree angle. Then fold the fabric to continue pinning along the next side of the quilt. You will pin around the entire quilt. When you reach the point where you started, open the binding and pin the edges together. Sew the two ends together and trim off the extra fabric before pinning in place.
Now you can begin to sew the binding to the back of the quilt. Use a 1/4 inch seam allowance. When you get to a corner, lift up the needle and foot, carefully turn the quilt, flip the corner over. Put the foot down and continue sewing. Repeat this step at each of the corners.
Here’s what your bias tape will look like once it’s sewn to the back of the quilt.
Now it’s time to “bind” it! Flip your quilt over so you see the front of it. Fold the binding over to the front and pin in place. Sew all the way around the quilt, as CLOSE to the edge as you can.
It’s done. Seriously. That’s it! Stay tuned for the grand reveal!


Leave a Reply