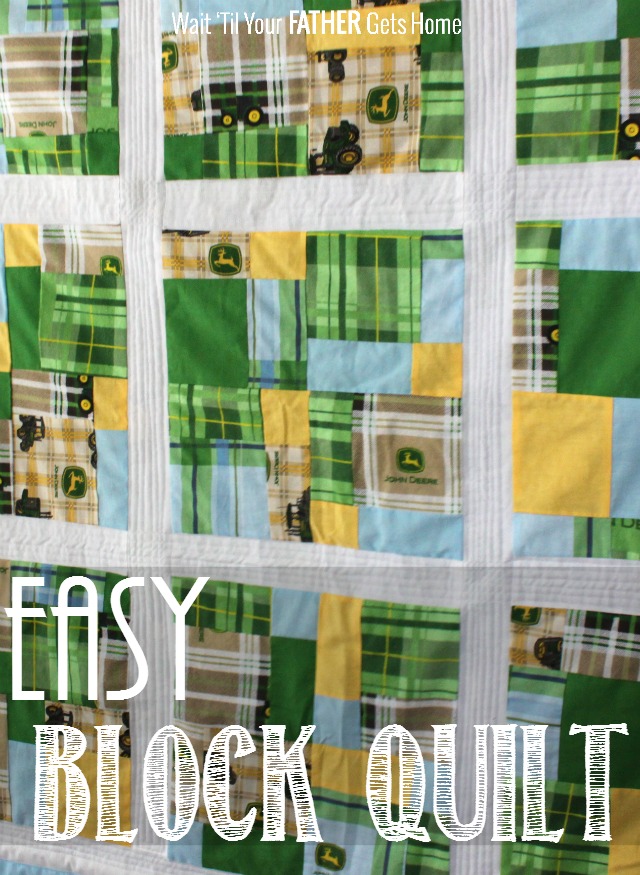
If giving handmade is important to you, and you’ve got a little one in your life that would love a warm quilt this year, this is the easiest-ever quilt to make. I’ll walk you through all the steps and materials needed for every step along the way. To give you a general idea, the process involves: assembling the blocks {9 total}, assembling the sashing & borders, assembling the quilt back, and quilting & binding the quilt. First up, let’s talk quilt blocks…
Materials
81-5″ fabric squares {I had seven half yards of coordinating fabrics}
quilting rulers {I recommend two}
rotary cutter
cutting mat
sewing machine and tools
iron and ironing board
Cuts
81- 5″ fabric squares
Obviously first you’ll need to cut your fabric squares. You could use as many or as little fabrics as you’d like. I just so happened to find seven that I liked together to go with my John Deere theme. Maybe you only have 3 or as many as 9. It’s totally up to you of course! I do like having a solid or two mixed into the group though. I recommend layering 3-4 pieces of fabric on top of each other and cutting 5″ strips. From there cut every 5″ to create your squares until you’ve got enough!
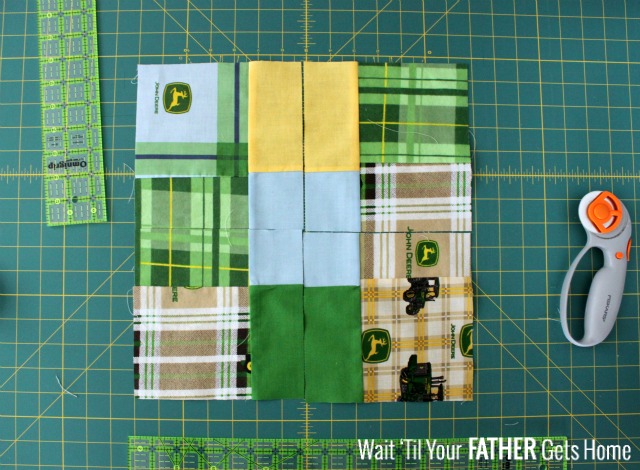
Sew 9 of your 5″squares together into a block. Create the block by sewing rows of 3, then assemble the entire block. Iron flat between each row and once you complete a block.
Cut the 9 patch block in half, vertically and horizontally. Use your ruler and a rotary cutter for the best results!
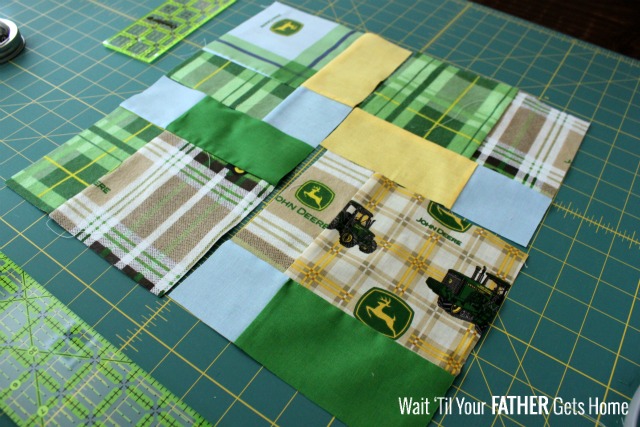
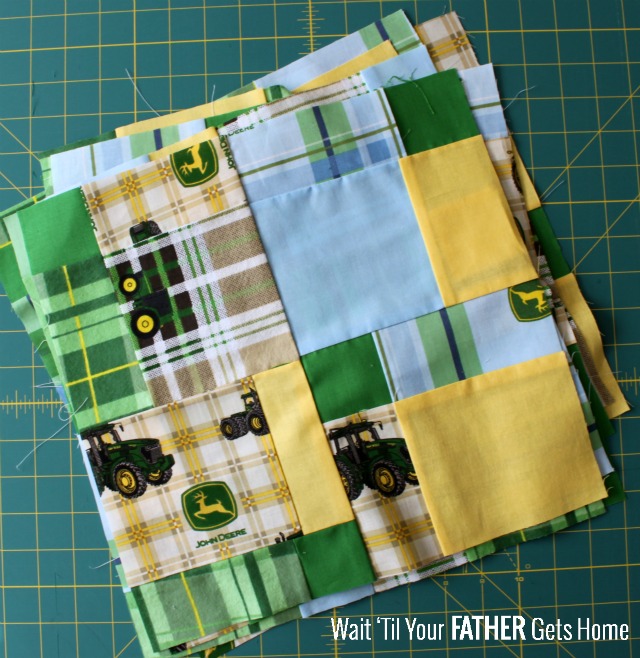
Now you should have four equally sized blocks. Rotate them however you’d like and sew together…the more mismatched, the better!
You’ll do this 8 more times until you’ve got 9 blocks total.
Next up we’ll work on assembling the quilt top…


Leave a Reply