Hey y’all! I’m Emily and I blog over at A Tossed Salad Life. I’m so honored that Meredith gave me the opportunity to share my project here. I hope she’s recovering from the birth of her new baby, and enjoying lots of cuddles and snuggles, and especially that brand new baby smell!
When I was in middle school and high school, I had really long hair. I mean, really long hair. It was so long that I had to swing my hair out from behind me when I sat down. I also have hair that doesn’t require any straightening. None. In fact, I can’t get it to curl. It is semi-fine, extremely straight and extremely thick. I’m sharing this with you because when I was a teenager, I wanted to be able to style my hair, and all of these things hampered my ability to do cute things with it. So I taught myself how to do french braids, reverse braids, fishtail braids, 4-, 5- and 9- strand braids.
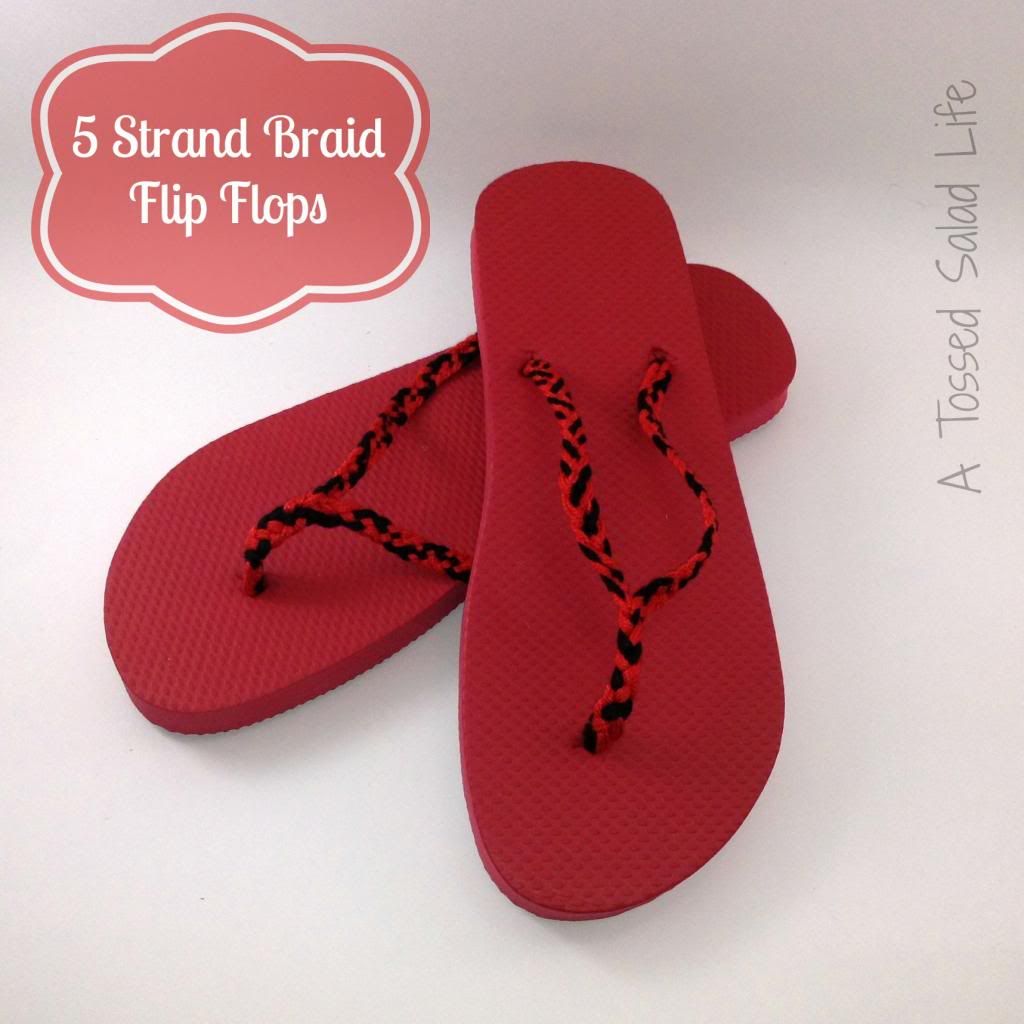
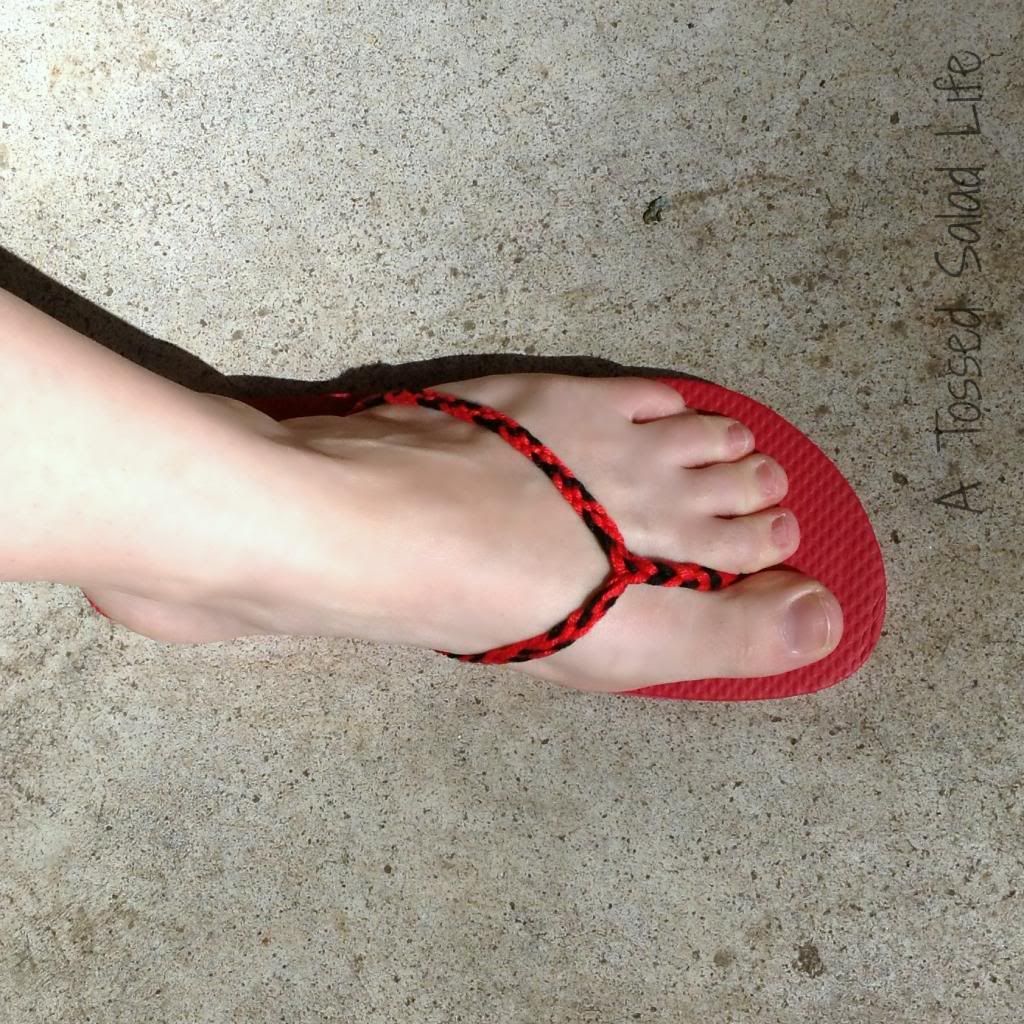
I was trying think of a summer project that I could make for this guest post, and I remembered a style of braid that I learned, where I joined two braids into one single braid. I realized that this style would work perfectly for a flip flop, particularly if it was a 5- or 9-stranded braid, so I decided to make a 5- strand joined braid flip flop.
To make a pair of flip flops that look like this, you’ll need: 1) A pair of cheap flip flops, the kind they sell at Old Navy or the craft store works great; 2) Embroidery Floss or Pearl Cotton, I used 1 skein of red and 1 skein of black pearl cotton; 3) Scissors; 4) A glue gun; 5) A clipboard. I chose to make my braids in red and black, as they are my son’s swim team colors. I figured they would be great to wear for the meet. However, there is no reason you couldn’t use 5 different colors or only one color.
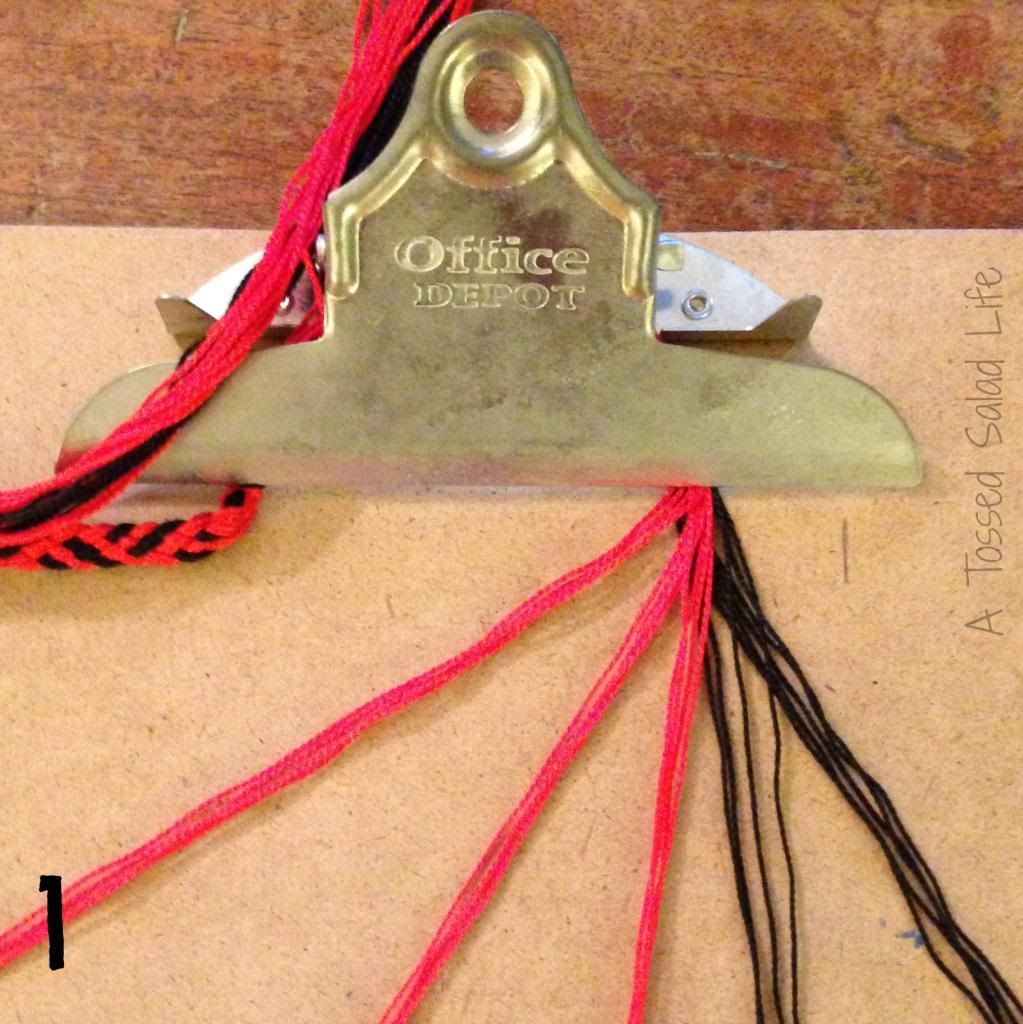
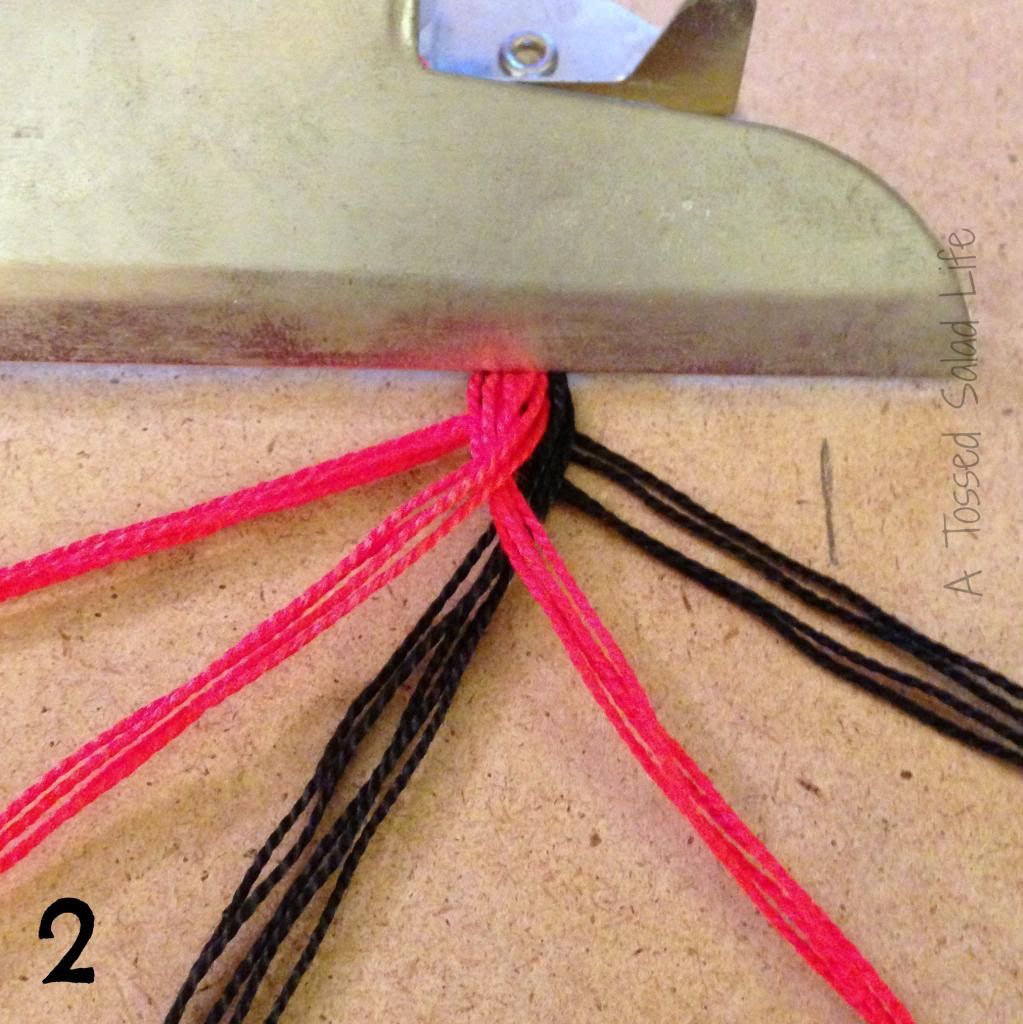
You’ll start this project just like you are making yourself a friendship bracelet. I cut pieces of the pearl cotton that were 18 inches long. I wanted have each of the two smaller plaits to have 4 lengths in it, and I had 3 strands of the braid in red and 2 in black. this means that I had to cut 16 lengths of black pearl cotton and 24 lengths of red pearl cotton for each flip flop. For each initial braid, I had 8 lengths of black pearl cotton and 12 lengths of red pearl cotton. I tied them together in a knot and set the knot under the clip on my clipboard. I divided out the five strands of the braid, and started braiding. I am not an expert at explaining how to make a 5-strand braid. You separate out all 5 strands, and then braid the 3 on the left like you are making a traditional braid, and then you braid the 3 right strands as if you were making a traditional braid.
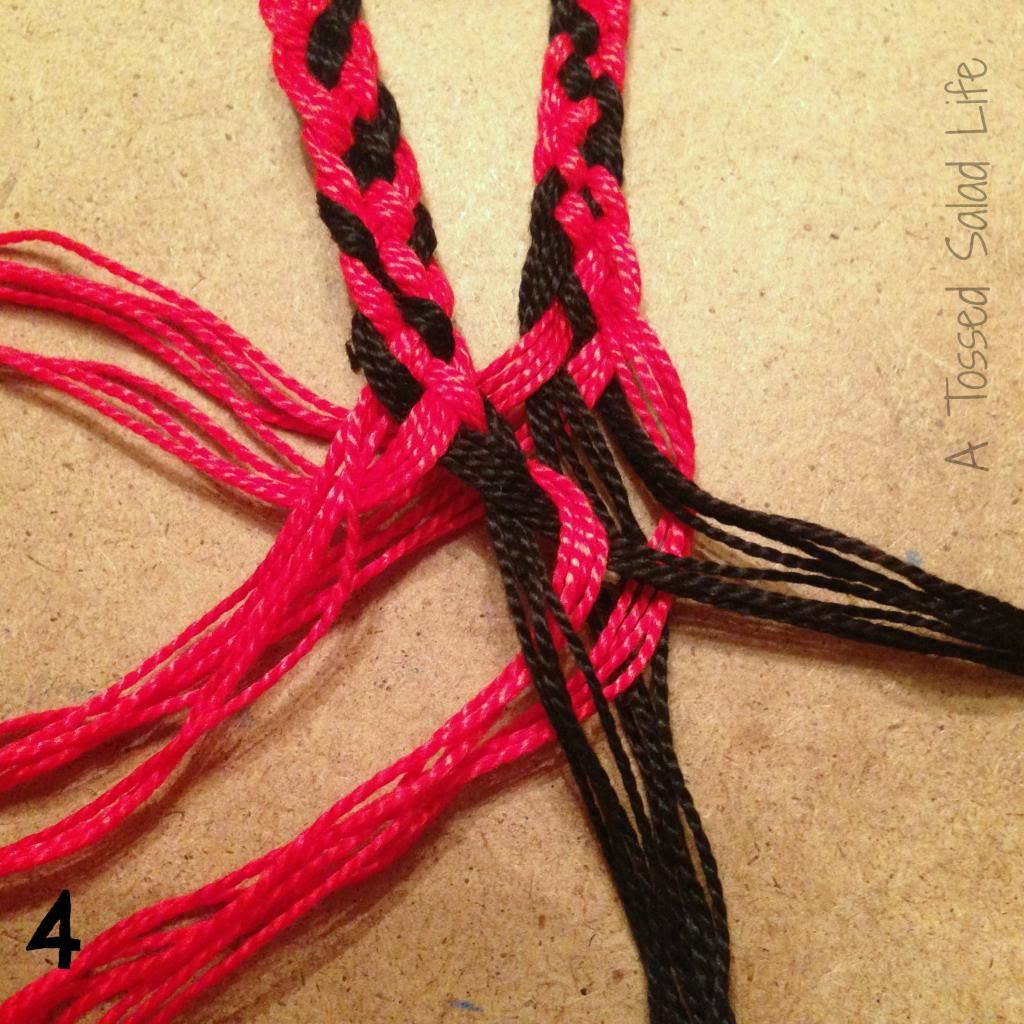
I’ve tried to show you how to get started with the braid in photos 1 and 2. I also found a really great step-by-step tutorial for you in case my images don’t make sense.
The braid will start looking more like a braid after the first couple of passes through. It just looks slightly more elaborate than your standard 3-strand braid:
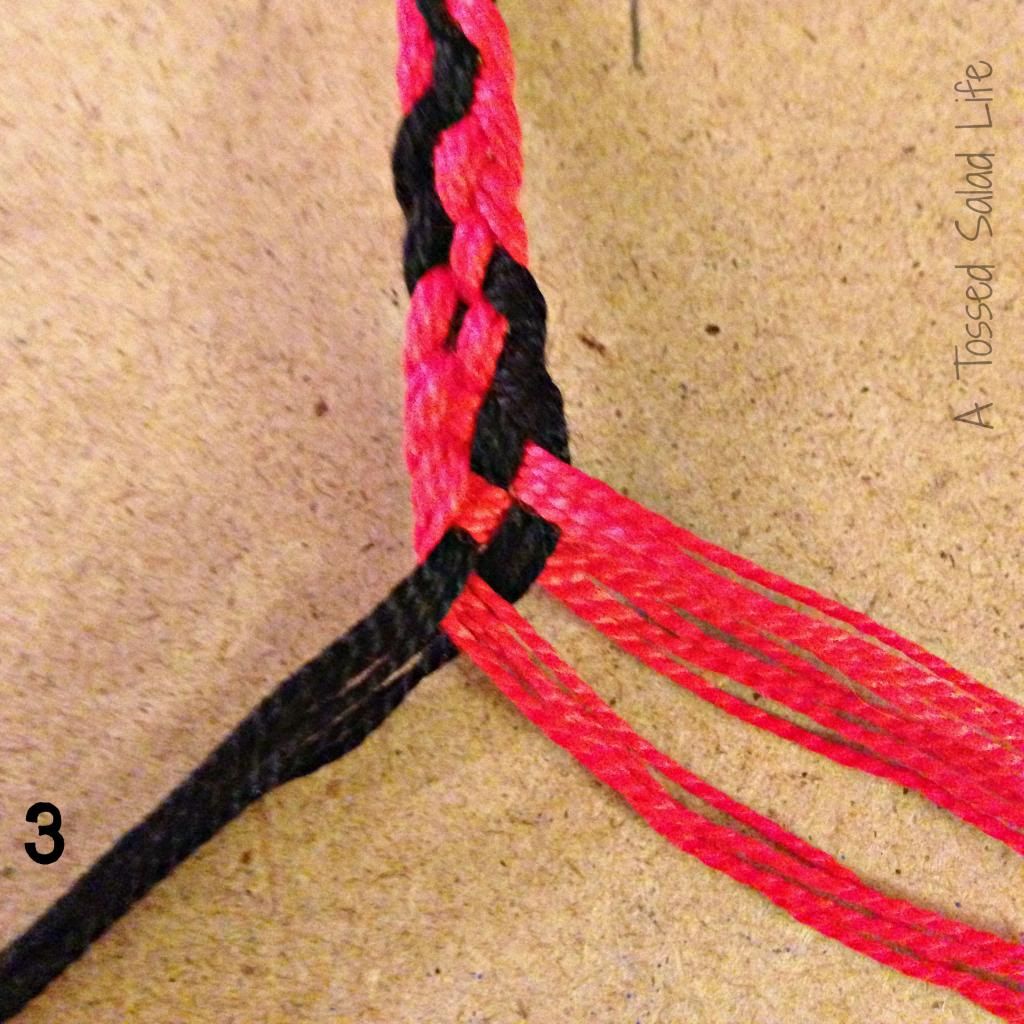
I braided the two side pieces of the flip flops until they were each about 5 inches long. This is much longer than you’ll need, but I thought I should have some of the braids to spare. I then spread out each braid’s 5 strands. I made sure that the colors of both braids were in the same order. Both of them were red, red, black, black, red. Very carefully, I then put the two braids on top of one another, so that I ended up having 5 strands, rather than 10 strands.
Each of the 5 strands now had 8 lengths of pearl cotton in it, instead of the four. I then resumed braiding again, and braided the thick portion of the braid until it was 2-3 inches long.
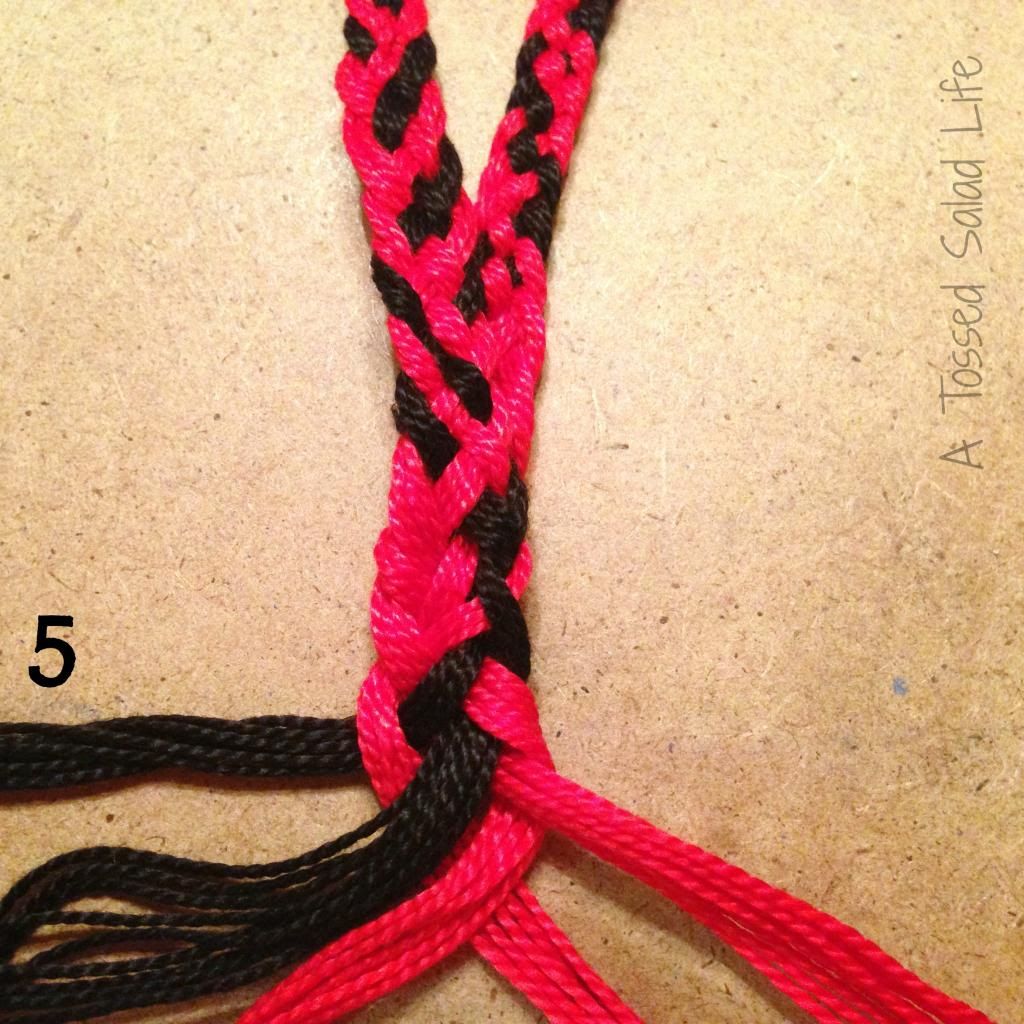
Your joined braid should look have a y shape when you are finished. Just like you need for a flip flop!
To finish putting your flip flop together, you’ll need to remove the original plastic straps! Be careful! I cut my finger trying to snip the bottoms out! Thread the braid through the holes in the flip flops. You’ll then need to adjust it to make sure that it’s the length you want. I made my long, so after making it fit the way I wanted, I tied off the braid at the correct spot, and trimmed the excess. Make sure you make them fit snugly– you don’t want them slipping and sliding around on your feet!
You’ve got to use a glue gun to keep the braid in place. Add glue into the recesses on the bottom side of the flip flops and allow to dry. Your braided flip flops will be ready to wear!
I was planning on keeping these flip flops for myself. As I was finishing up, my big kiddo (AKA, the Frog) saw the finished product, and exclaimed, “Those are in Barracuda colors!” Then, he asked if they were for him. I wasn’t planning on giving them to him, but he seemed so hopeful, so I said sure. I guess this design is a good unisex pattern for flip flops!
What a fun and easy project! Can’t wait to give this a try sometime soon. Thanks for joining us today Emily!




What a fun idea. My teen daughters will love trying these flip flops. Thanks for sharing Emily and Meredith.
These are soooo cute!
Great work Emily–I have never seen a braid like that before!
So cute, Emily! Great post! I will have to try this out.