You know that I’m a huge fan of handmade gifts, especially for a mom-to-be or a brand new baby.
I’ve shared several tutorials for making baby gifts in the past few months including:
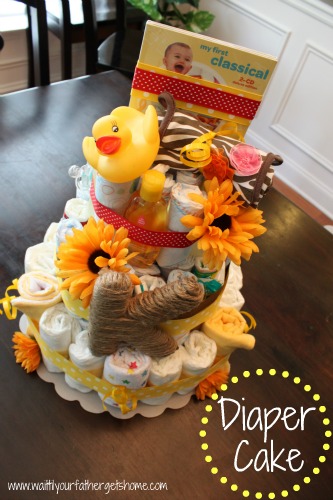
Diaper Cake
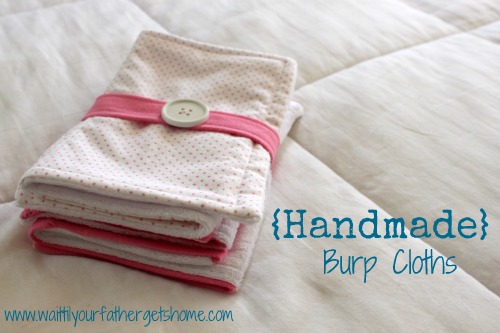
Burp Cloth Set
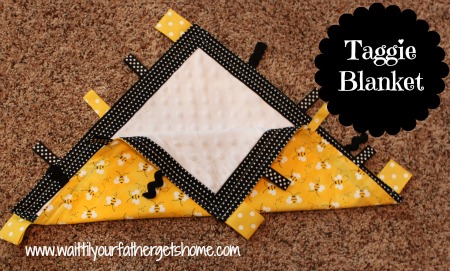
Taggie Blanket
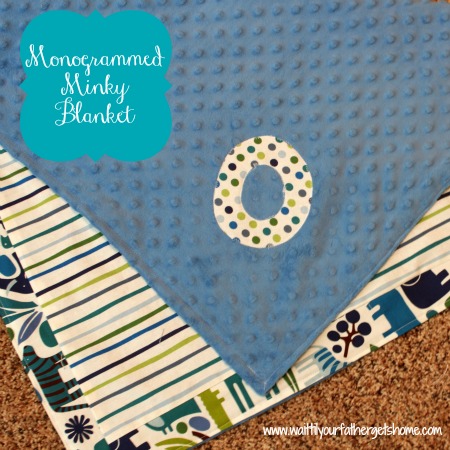
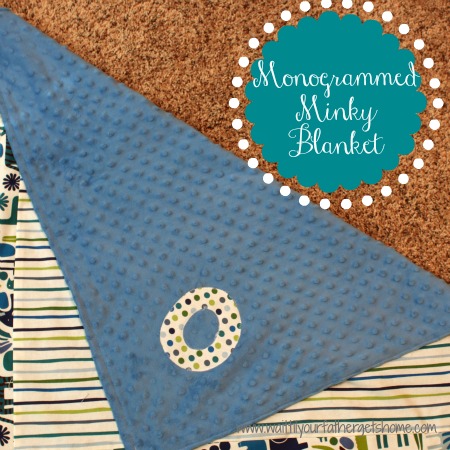
I recently had a cousin that gave birth to twin boys! I had already sent two sets of burp cloths her way for a baby shower, but wanted to add to the set that I had already made for her. To complete the set, I made both boys a Taggie Blanket and also a Monogrammed Minky Blanket.
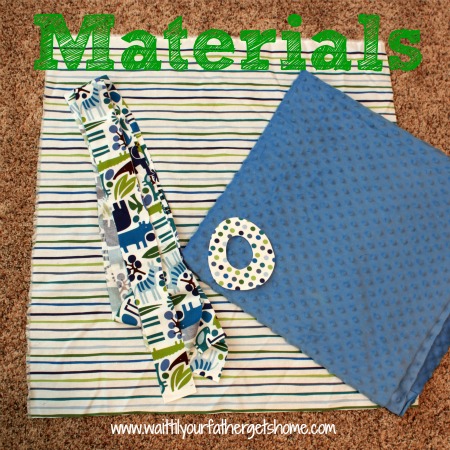
To make your own Monogrammed Minky Blanket, you’ll need:
Heat-n-Bond Lite (for the monogram)
3 coordinating fabrics-
4 strips that measure about 2.5 x 34″
1 square that measures about 29 x 29″
1 small piece for the monogram letter (could be the same fabric as your square or your strips)
1 square of coordinating minky fabric about 30 x 30″
sewing machine and accessories
rotary cutter and mat
To start, wash and iron all cotton fabrics. You can of course wash the minky as well, but definitely do not iron it!
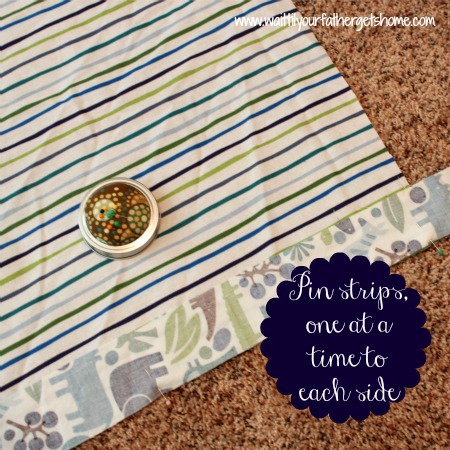
Once your fabrics are prepared, cut the appropriate pieces. Begin by pinning one strip at a time, to each edge of the larger square fabric.
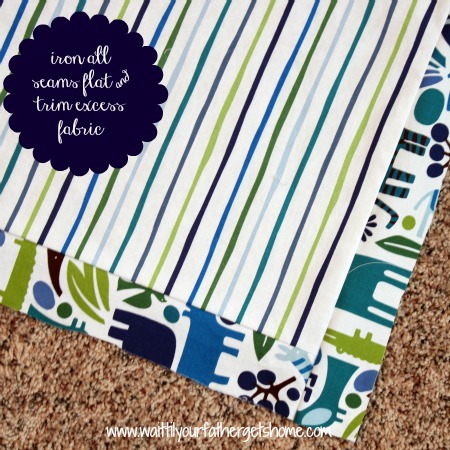
Pin each strip with right sides facing each other, sew, and iron the seams flat (on the back side).
Once all strips are sewn, and all seams are ironed flat, trim off the excess fabric (from the strips) using a rotary cutter and mat.
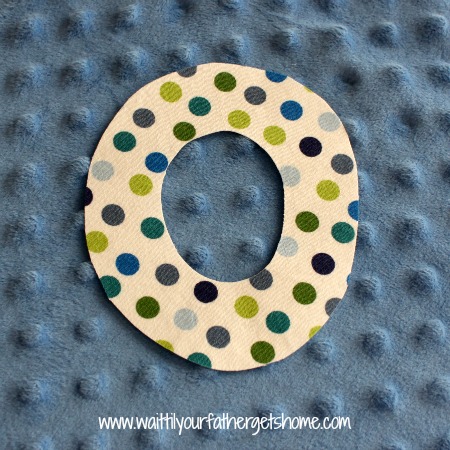
Before you can sew the blanket together, you’ll need to attach your monogram. I chose to use a polka dot fabric to make the letter “o”. I followed the directions on the Heat-n-Bond Lite to attach to the fabric. I then trimmed my letter, peeled the backing off the Heat-n-Bond, and lightly ironed it onto the minky fabric. To permanently attach the monogram, I used a zig zag stitch.
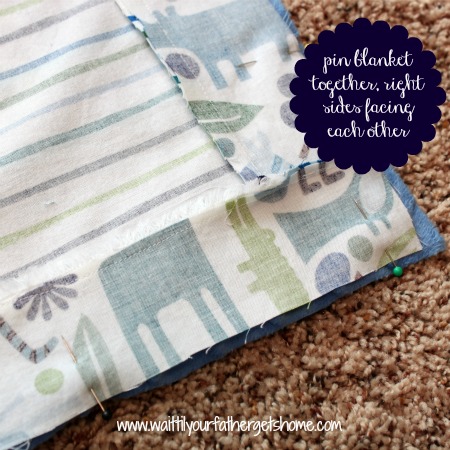
Now you are ready to sew the minky fabric to the other side. Pin both squares, right sides facing each other. If you have a walking foot, now is the time to use it! As I’m sure you know, minky is a very slippery and difficult fabric to sew with (but oh, so soft and cute)! A walking foot helps keep your materials together as best as it can. Pinning well can help a lot too!
Sew about a 1/4″ seam around the entire blanket, leaving about a 4 inch gap at one end so you can flip it right sides out! Before flipping, remember to trim the corners at a 45 degree angle.
Once you have it flipped, sew the opening closed and add a top stitch around the entire blanket. You may choose to do one or two, depending on the look you’re going for!
Soon you’ll have another beautiful, handmade baby gift!
I just know that new baby will LOVE this sweet, soft blanket!
Enjoy!
I’ll be linking up at these fantastic parties!



This is so darling! Oh how I wish I had a walking foot… every minky experience has been pretty bad!
This is adorable!!
So cute Meredith! I’m pinning!
I love these sweet soft blankets and I am enjoying your little roundup of projects. Thanks for linking this up on Show & Tell at SNAP! xoxo
I’m so glad you like them all! Thanks for stopping by and for your sweet comment :o) I LOVE linking up at SNAP!
SO cute! I always need new baby shower gift ideas!
I would LOVE for you to link this up at my Ginger Jamboree Link Party!!
Thank you! I’ll stop by today to check out your party!!
These are wonderful! You do a great job with these. Thanks for including links to the other gifts–this post is a wonderful resource! 🙂
Oh great! So glad you liked them all!! 🙂
Have you had trouble with your minky bunching around your appliqued letters? I have done the same process using a name and while it works, I find the fabric doesn’t lay flat/smooth. Any tips? I can send you a picture if you don’t understand the question. 🙂
I didn’t, but I’m guessing because it was only one letter and not an entire name. I don’t think there is any really easy way to work with minky besides trying out a walking foot. Have you tried that yet?