One of my most favorite things to sew are baby gifts. Maybe it’s because when it was my turn to have a baby shower and receive all the baby gifts my most favorite items were the ones that someone had taken the time to make for me. To this day, those are the gifts that I love the most.
I had a baby shower to attend this past weekend for a good friend expecting baby #2, and was so excited to make her a little set of sweet baby items with some cute bumble bee fabric.
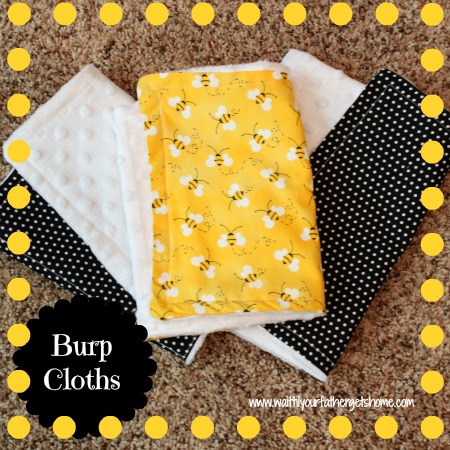
I included a set of three burp cloths.
For a full tutorial on how I make my burp cloths, click here.
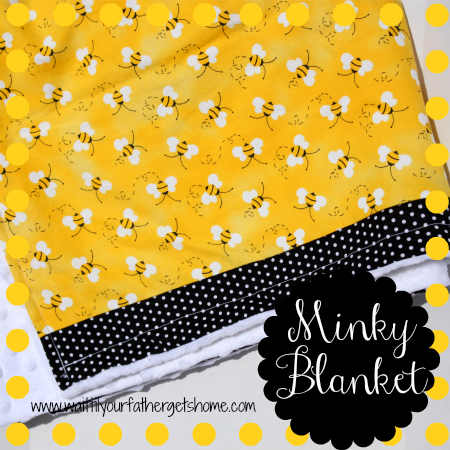
A sweet Minky baby blanket.
Tutorial to come soon!
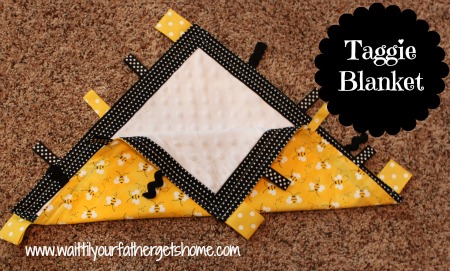
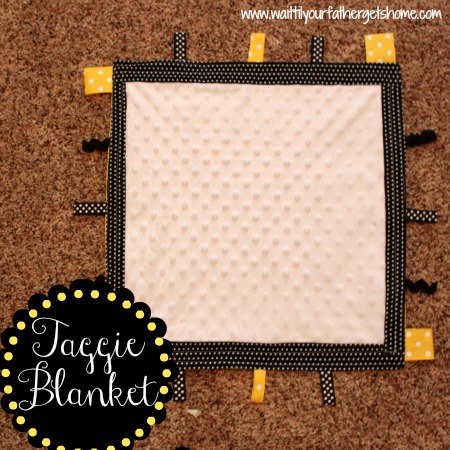
And, finally a new project for me, a Taggie Blanket.
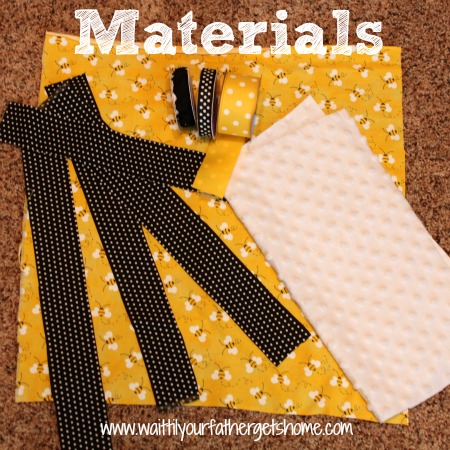
To make your own Taggie Blanket, you’ll need:
16.5″ square of back fabric (yellow bumble bee)
14 ” square of minky dot fabric (I chose white)
4- 16 x 2″ strips of fabric (black & white polka dot)
3 coordinating, but different ribbons or ric rac
sewing machine and sewing accesories
To get started, wash all materials first. This is a baby gift after all and it should most definitely be as clean as possible. Plus, some fabrics shrink after washing. You wouldn’t want it to get all messed up after the first wash! Now, cut all pieces of fabric using a rotary cutter and cutting mat. I just purchased a rotary cutter for the first time a few weeks ago and WOW, was I missing out before! It makes cutting fabric so much easier and straighter!!
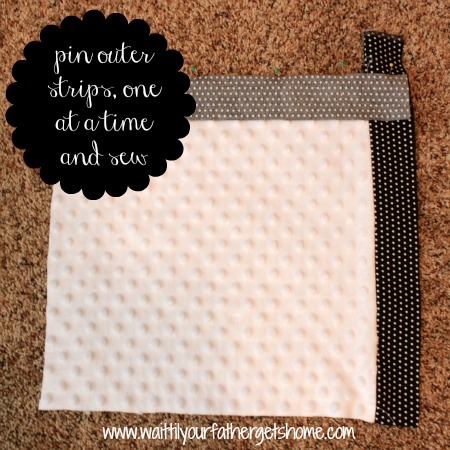
Next, pin one strip, right sides facing each other to the minky dot fabric. Pin and sew carefully! I’m sure you know that minky dot is not the easiest material to work with! If you have a walking foot, now is the time to use it!
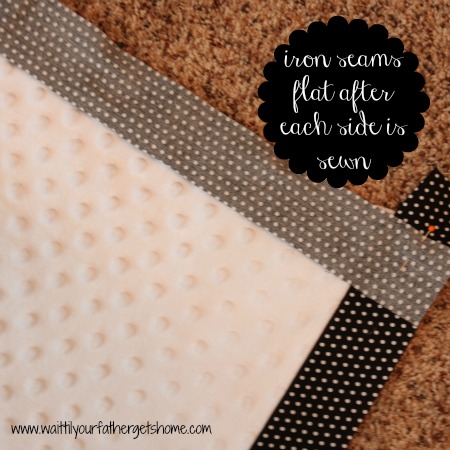
In between each strip, I ironed the seam on the back side so it laid nice and flat.
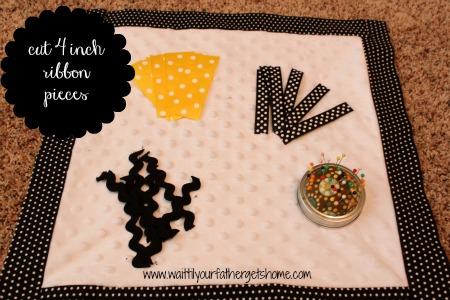
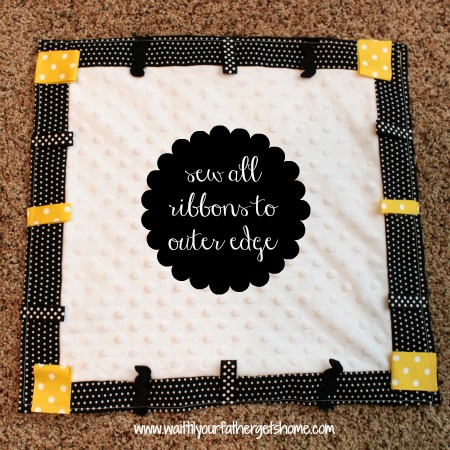
Once all four sides have been sewn, it’s time to cut the ribbon pieces and pin them to the outer edge of the taggie. I cut 4 inch ribbons using my rotary cutter and mat.
Before pinning the ribbons to the fabric, I folded each in half and ran my iron over them so they had a nice little fold.
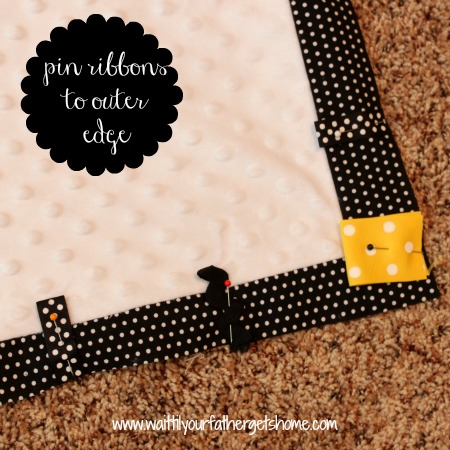
Pin the ribbons all the way around the taggie, spacing them out how you want. You could go really crazy here and add a ton, or keep it simple with just a few on each side. It’s totally up to you!
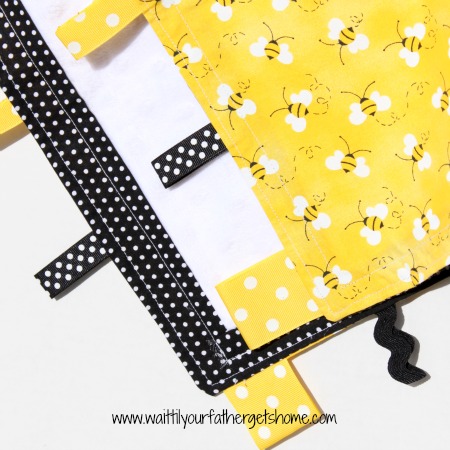
Once all the ribbons are sewn to the fabric, you’re ready to assemble the taggie. Place the piece you’ve been working on together with the solid 16.5″ fabric you cut earlier, right sides facing each other. Pin the two squares together and sew around the entire square, leaving a 4 inch gap to flip the taggie right side out.
Before turning right side out, cut each corner at an angle to make them lay smooth once turned. Use a pencil or capped pen to push out the corners as much as possible.
Iron the entire taggie so it’s nice and flat and pin the 4 inch opening before closing that gap and sewing a topstitch around the entire taggie. I also added a topstitch around the edge of the minky as well, to give it a more finished look!
What do you think?!
I’ll be linking up at these fantastic parties!




So cute Mere! Love the colors you used too, so ‘fall’! Come over and teach me to sew!
This is so super cute. I love the bee fabric you chose.
Precious! I too love the bees, love the yellow black and white combo 😉
Thank you for stopping by!
I’m saving this post for when I start to sew… LOVE the tutorial!!!!!
Thanks so much for sharing this at The DIY Dreamer.. From Dream To Reality!
Thank you! 🙂
Such a cute idea! Reed loved his taggie!
Thanks, Jill!
Love taggies! Have been wanting to whip some up for my little guy forever! That bee fabric is adorable, by the way! Thanks for sharing!!!
Thanks for stopping by!!
Love the color combinations! Please come link up at my Freebie Friday Party at http://www.shybydesign.com/2012/10/19/freebie-friday-3-paw-power-paper-pack-link-party/
Thank you! I’ll stop by today 🙂
Love your fabric! So cute 🙂
Thanks for linking up at Artsy Corner!
Love this bee fabric….can u please tell me where you bought it 🙂
Thanks
Gina
Thanks! I’m pretty positive it was a JoAnn’s find 🙂 Good luck!!